Gerald McAlister | RGB Haptics | Beginner


Gerald McAlister | RGB Haptics | Beginner
One thing that you might end up wanting is the ability to play a simple haptic when a user presses a button or a trigger on a controller. RGB Haptics provides two ways to do this using Absolute Haptics: A ButtonClickHaptics component and a SingleAxisClickHaptics. This tutorial will cover how to use both of these scripts, as well as how to create a custom version for buttons these do not support. An example of this is included in the RGB Haptics asset in the scene called “Button Clicks”.
When adding haptics to buttons on controllers, RGB Haptics assumes that these will be brief haptics for a limited time. The reason for this is because player’s will likely press many buttons, so playing long haptics during this can cause issues. Both haptic scripts support both a down haptic and an up haptic. The custom script at the end will also support both of these as well. The two scripts included are for different use cases: The ButtonClickHaptics script should be used for actual buttons on a controller (such as an A or B button). The SingleAxisClickHaptics script should be used for pressing things like triggers where there is not just a single up or down value but instead a threshold.
Button click haptics are very straightforward to use. Simply add the ButtonClickHaptics script as a component to any GameObject in yuor scene, then select the XRNode you want to send the haptics to and the button you want to trigger the haptics via. Finally, configure the haptics you want to use for the downclick and upclick. By default, these are setup to give a “click” feeling with the appropriate times.
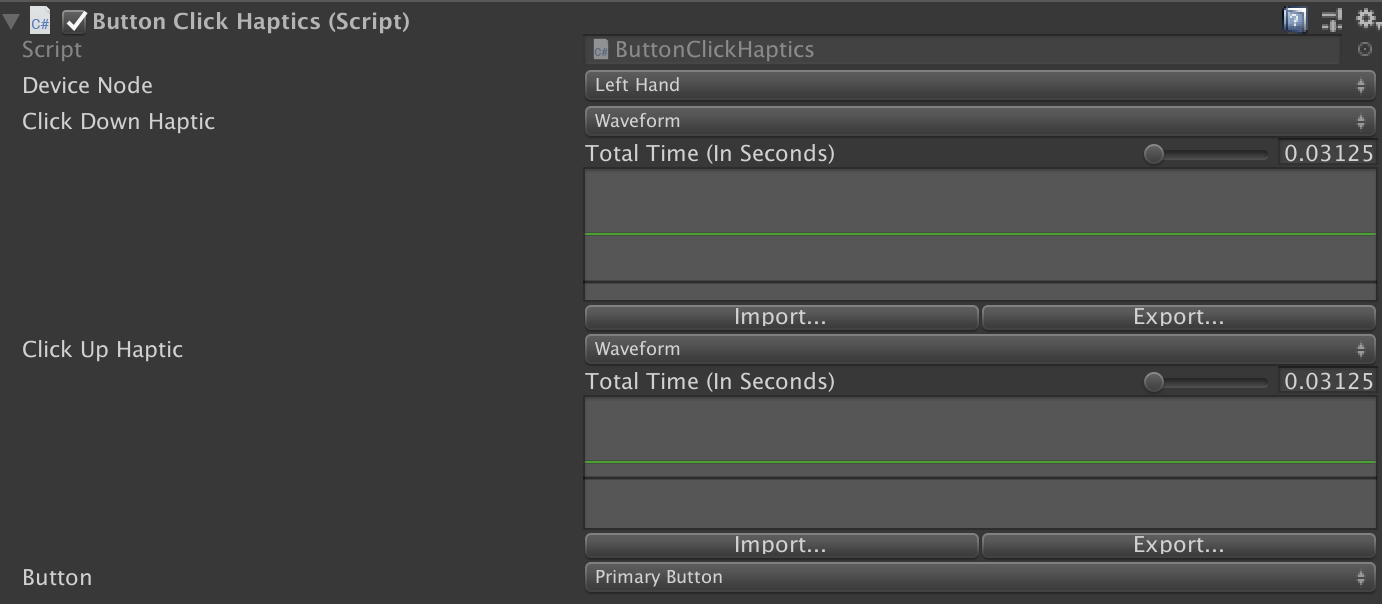 The default settings should look like this.
For the naming of the buttons, you can use this chart from Unity to determine what the button’s map to for your device.
Trigger click haptics have a bit more complexity behind them. Triggers use a single axis to determine how much they have been pressed down, so instead of an off or on value, we need to instead set a threshold at which the haptics should trigger. To do this, we can use the SingleAxisClickHaptics, configuring it with similar properties to the button click haptics example previously. The only new property we have now is a threshold value.
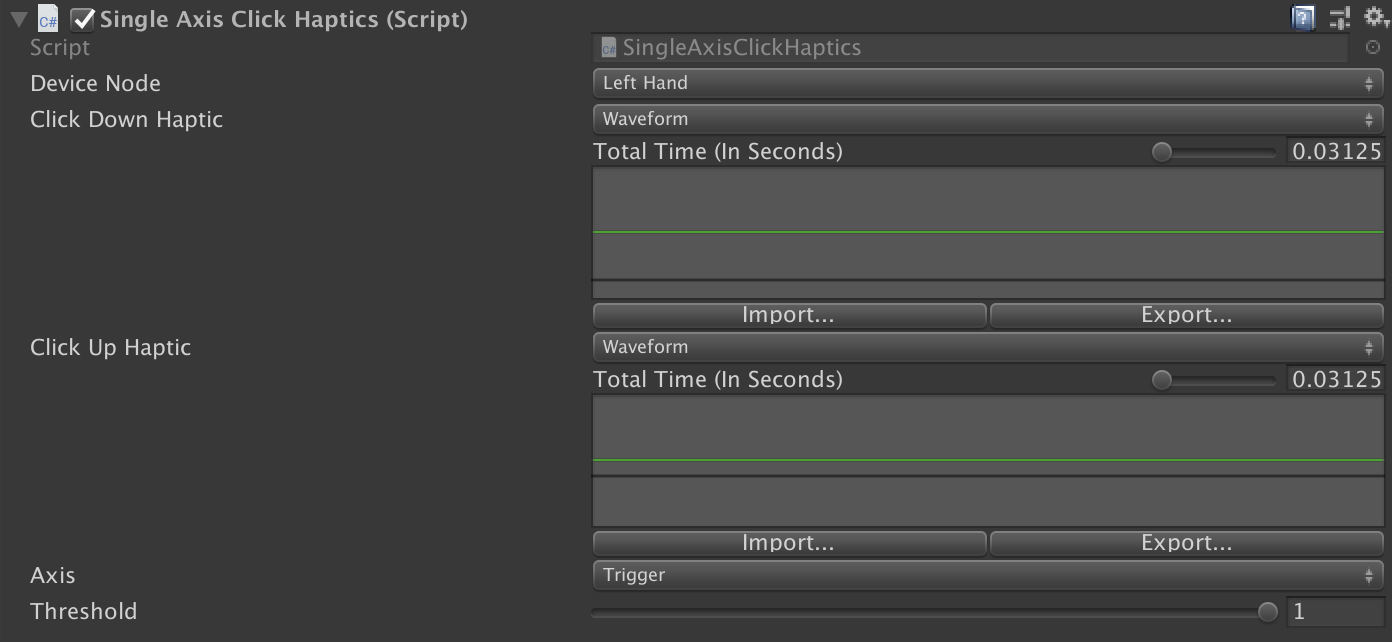 Trigger haptics settings should look like this.
Once again, you can find the namings of the buttons via this chart from Unity.
Customizing button click haptics is made incredibly easy thanks to the InputHapticsBase script. It includes all of the basic haptic capabilities you should need, and can simply be extended to add support for additional button presses not included in Unity’s XR systems. As an example, here’s a simple script to play a haptic whenever you press the space bar:
using UnityEngine;
using RGBSchemes;

public class SpaceClickHaptics : InputHapticsBase
{
    // Update is called once per frame
    void Update()
    {
        bool keyPressed = Input.GetKey(KeyCode.Space);
        TriggerInputHaptic(keyPressed);
    }
}
Note that for the above code, we simply need the current state of the key being pressed. We do not need to keep track of whether the key was presssed previously to not double-play a haptic effect. Also note that we do not need to expose any variables for the haptic clips. This is automatically done for us in the InputHapticsBase script, which we extend here.