Gerald McAlister | October 25, 2019 | Dev Diary


Gerald McAlister | October 25, 2019 | Dev Diary
With the recent release of RGB Haptics, we decided this would be the perfect time to create a short tutorial for how to use these tools! They are designed to be easily usable by anyone, and are compatible with all major virtual reality and augmented reality platforms supported by Unity’s XR platform.
This is a tutorial for RGB Haptics major version 1. This means that any version of the tool starting with 1 (e.g. 1.X) should be compatible with this tutorial. If you run into problems, please contact us about them, or comment on this tutorial. If you need real time support, or have a bug to report, you can chat with us on our Discord server live at http://RGB.chat.. We will work to maintain this with any minor changes introduced in RGB Haptics version 1.X going forward.
To begin, you will need to install the tools to your project. This can be done by purchasing the tools from the Unity Asset Store and importing them into your project. Once done, find the Hand Haptics script and add it to each hand object in your scene. Make sure to select which hand the scripts are attached to, as seen in the image below.

Once this is done, your project will be all set to go!
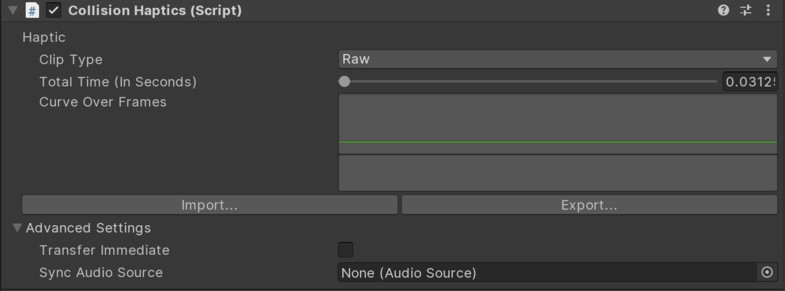
Adding haptics to objects in your scene is very easy! First you must decide what kind of haptics you wish to have. There are two main types of haptics: Collision Haptics and Continuous Haptics.
Continuous Haptics should be used when you want the player to feel a continuous haptic any time they touch an object. For example, if the player picks up a boombox playing music, adding a continous haptics with the audio clip can help increase the immersion that they are holding the boombox. Continuous haptics can be paused whenever the music pauses, and similarly be resumed. They work best for long haptics clips where you want granular controls.
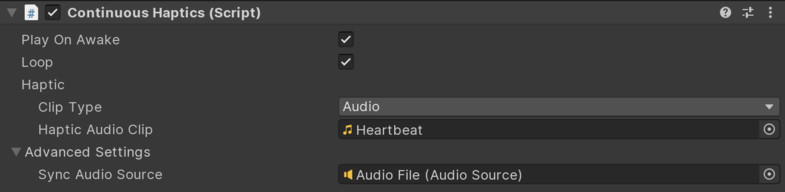
RGB Haptics currently supports two types of haptics: Audio files, and raw waveforms. To use an audio file, simply select “Audio” as the Clip Type on your haptics component, and choose the appropriate audio file, as seen above. For raw waveforms, select “Raw” as the Clip Type, then set how long the haptic clip should last for.
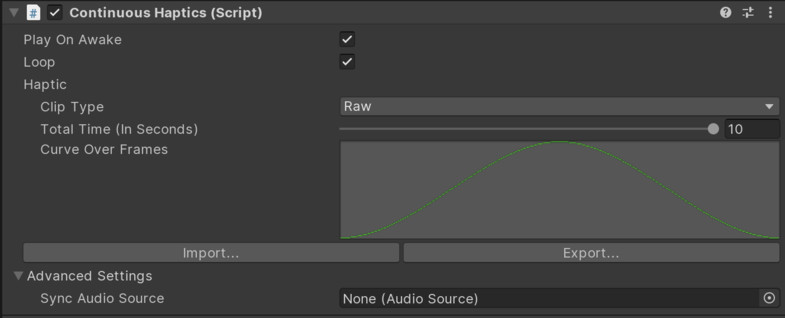
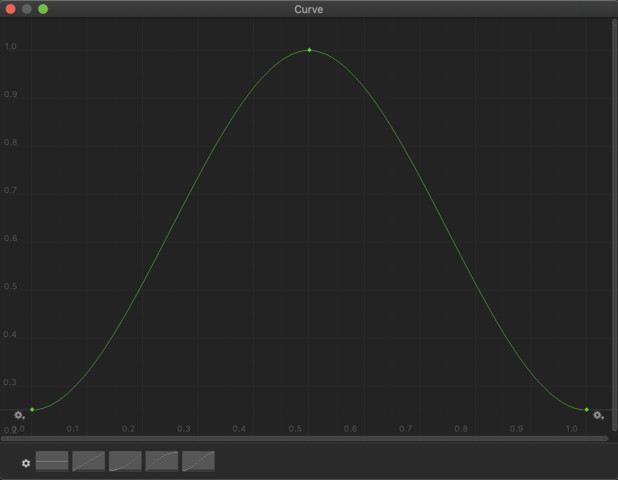
Click on the graph once you have decided its length, and you will be given the option to draw out the graph. The only values that will be used are between 0 and 1 on both the X and the Y axis. The X axis denotes time, while the Y axis notes intensity. A value of 1.0 will have the maximum intensity on the Y axis, while a value of 0.0 will have no intensity on the Y axis. As of RGB Haptics V1.1, you can also export and import raw waveforms, allowing you to share the effects you make with others!
Version 1.1 of RGB Haptics includes several new advanced features that you can view under the “Advanced Settings” dropdown. One of the major features is the synchronization of audio! In Unity, audio is loaded and played on a separate thread. This can result in synchronization issues when the haptics are not played back exactly at the same time, resulting in the haptics being slightly offset. To fix this, you can set an audio source as the “synchronization point” for a haptic, and the two still stay in sync!
For collision haptics, we’ve also added a feature to immediately play the haptics out of a controller, rather than only when the object is touching the object still. This is great for small haptic effects that you want to have an immediate impact, but for longer haptic effects you probably want to leave this disabled, as it will result in the player being able to move their hand away from an object but continue to feel the haptic effect.